The useful installation sequence
Identify source → check device → obtain the right package → review prompt → inspect the selected mode.
Before downloading: make a five-field note
| Field | Where to read it |
|---|---|
| Developer | Publisher-controlled store or website |
| Package identifier | Store URL or authenticated release metadata |
| Version and release date | Publisher release notes |
| Android requirement | Current device-specific compatibility information |
| Signing identity | Trusted publisher or installed-app release record |
For Master, the supplied source snapshot is described in the Master download guide. For the distinct Moonfrog app, use the Gold record. Keep source notes separate from current installation specifications.
Step 1: prepare the device and account
Open Android Settings to check the OS version and available internal storage. File size, installed app size and future downloaded resources are different. Preserve account-recovery information before replacing an existing build. A guest account may rely on local data.
If a working app is already installed, establish the package and supported update path first. Uninstalling as the first troubleshooting step can remove the information needed to diagnose an account problem.
Step 2: obtain the correct package
Use the publisher’s supported distribution path. A standalone .apk and a multi-file split-package delivery are different formats. Follow the publisher’s instructions for the exact format; renaming a file extension does not convert it.
When a source provides a hash, compare the exact algorithm and bytes against a trusted release record. A hash identifies a file, while publisher identity and security assessment answer different questions. Do not treat a copied “safe” badge as a test report.
Step 3: understand the installation prompt
A store-managed install generally handles its own package delivery. An independently obtained APK may require allowing installation from a particular source app, such as a browser or file manager. If you choose that route after verifying the source, review the exact permission and remove it afterward.
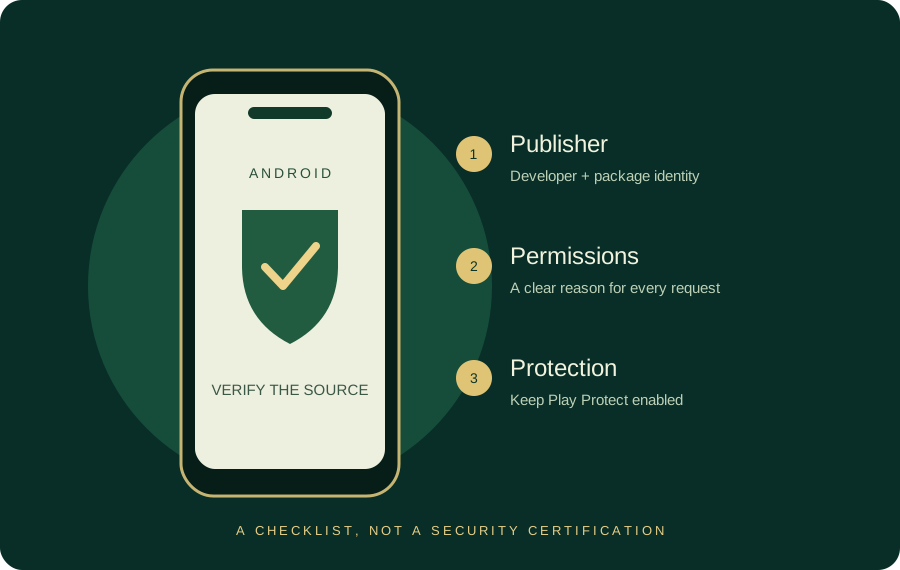
Keep Play Protect enabled. If the system flags the package, stop and verify the source rather than following a generic instruction to disable protection. A blocked file is not made trustworthy by repeated downloads.
Step 4: open and inspect the app
- Confirm the app title and publisher context against the record you used.
- Review requested permissions and decline unnecessary optional access.
- Find rules, support, privacy and account-recovery information.
- Confirm the selected mode and the meaning of its chips or balance.
- Set a session boundary before opening a table.
Step 5: handle an error by symptom
Read the full installer message. A parse error, package conflict, compatibility message and storage warning point to different checks. The Android symptom selector offers a short branch for each. It avoids the unhelpful cycle of installing increasingly unrelated mirrors.
After installation or an update
Keep the release source available so later updates can be matched. Check whether permissions have changed and whether the publisher documents a new mode or rule. If the app behaves unexpectedly, close it and review the exact source before granting additional access.
Use the table glossary and hand comparator to learn independently from app onboarding. Educational examples are not evidence about the fairness of a particular service.